


Setting Up Your Night Vision Scope: A Step-by-Step Guide for Hunters
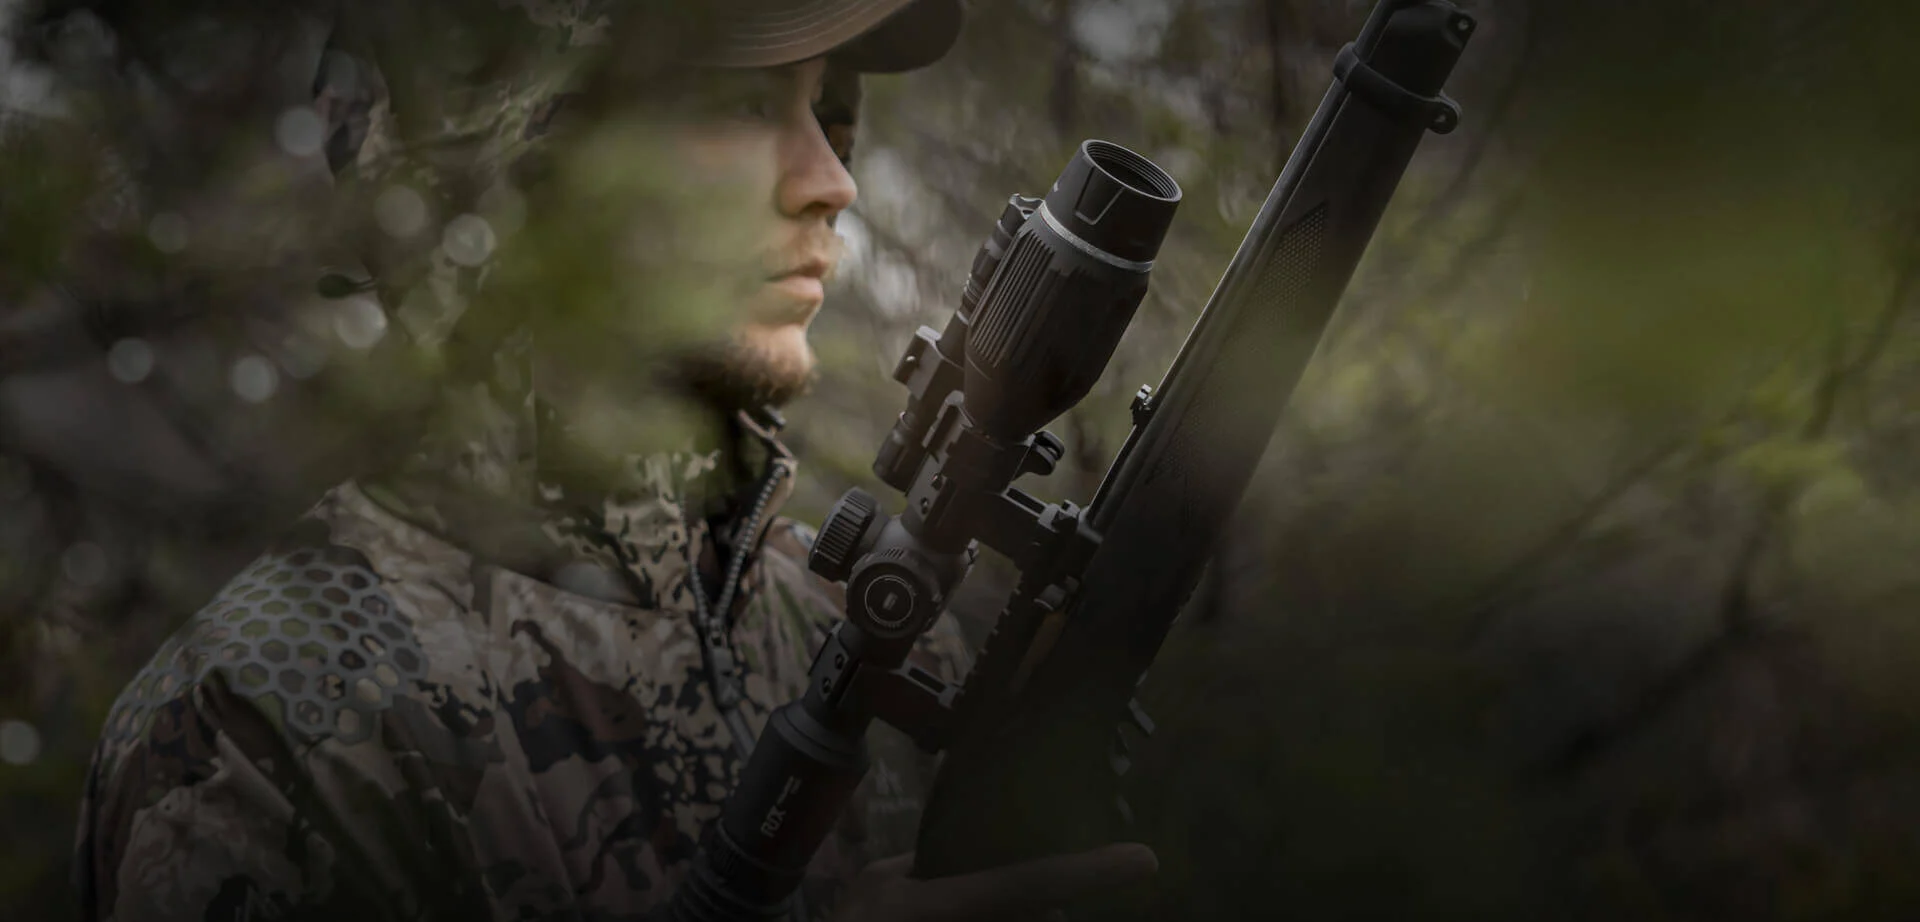
As night hunting becomes more popular among aficionados, the need to have the correct equipment cannot be emphasized—with a well-tuned night vision scope being first. This guide is meant to demystify the setup process so that your nighttime trips are safe and successful. From knowing its basic components to fine-tuning for that ideal shot under cover of darkness, we will negotiate the nuances of your night vision device. Whether you hunt regularly or just recently, following guidelines will increase your confidence and ability to fully utilize your nighttime ally.
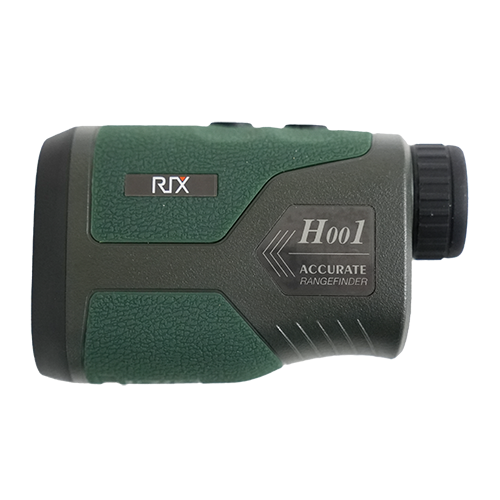
Grasp the Basics of Your Night Vision Scope First
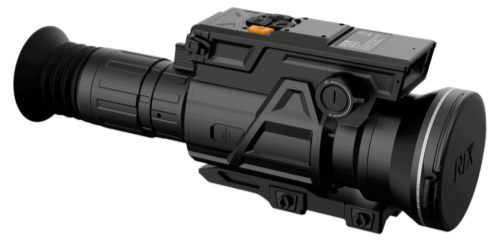
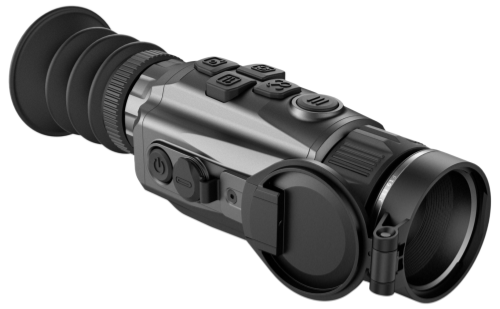
A night vision scope usually consists of an objective lens to catch light, a robust body that shields its inner workings, user-friendly controls for adjustments, and a power supply—usually batteries—to keep it running throughout your hunt.
From Gen 1 to advanced "Gen 4" models, every generation offers different characteristics; Gen 1 is the most basic, fit for short-range visibility, and later generations provide more clarity and range for more professional usage.
Usually appearing green, the technology underlying these scopes magnifies little light into a crisp image. Features like infrared illuminators to help in darker surroundings can help to improve vision in low-light situations, which is essential for effective night hunting.

Ready, Set, Prep for Installation
Component Examination
Look closely before mounting your night vision scope. Look at the lenses for cracks or scratches; check the body for damage; make sure all controls move naturally. Search the power supply unit—usually batteries—for any corrosion signs.
Mounting Required Items
Collect all required mounting accessories—rings, bases, and a suitable wrench or screwdriver, among other things. To guarantee a steady installation, double-check you have the right size and type for your rifle and scope model.
Examining Guidelines
Invest some time reading over the manufacturer's directions. These recommendations are based on your particular scope type and will offer operating advice to maximize performance once mounted as well as important specifics on mounting operations.
Securing Your Night Vision Optic
Key is securing your night vision optic compatibility; choose a mount suitable for the model of the scope and the make of your weapon. This guarantees both the best performance and a safe fit. Common options are universal rail mounts and bases tailored specifically for rifles.
Installational Guidelines
- As directed by the manufacturer, securely fasten the base to your rifle.
- Fasten the rings onto the base without fully tightening them, allowing for changes.
- Before tightening, position your scope in the rings such that it is level and at the correct eye relief distance.
- Once aligned, run the ring screws in a crisscross manner to equally apply pressure.
Borode-Sight Retention
Steer clear of overtightening, which might deform the scope body if you want to maintain bore sight. As you adjust the mount, keep the reticle in line with the barrel axis of your rifle to guarantee accuracy is not sacrificed during installation.
How to Dial In Your Night Vision Scope
Zeroing is the process of bringing the reticle of your night vision scope into line with the bullet's point of impact at a certain distance. It's essential since it guarantees your shot lands where the reticle aims.
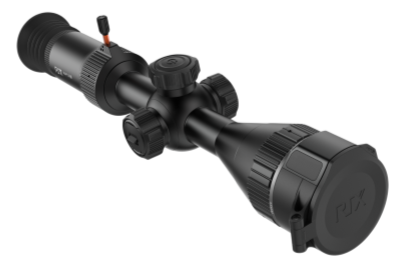
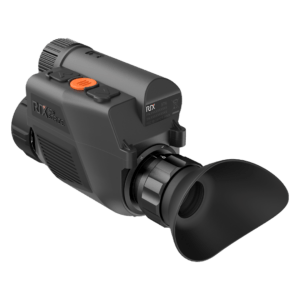
TOURER T20 Night Vision Rifle Scopes
Bore Sighting Basics
To get you on paper before the actual fire, bore sighting lines the optical sight with the barrel of the rifle:
- Steady the gun in a rest.
- Remove the bolt and check the barrel.
- In the bore view, center a far-off object.
- Match the reticle of sight to the same target.
Live-Fire Zeroing
Set up a target at the desired zero distance within the range:
- Fire for three-shot groups as exactly as you can.
- Relative to the reticle, note the point of impact.
- Usually counting in clicks, use the windage and elevation knobs to move the point of impact toward the reticle center.
Precise Windage and Elevation
Adjust the settings incrementally:
- Windage: Adjusts the reticle left or right.
- Elevation: Moves the reticle up or down.
Follow the scope’s click-value (e.g., ¼ inch per click at 100 yards) for precise tuning, and repeat the shooting process until zeroed.
Perfecting for Field Success
Reticle Illumination Adjustment
You must adapt to the illumination of your surroundings. To get clean vision free of glare or washout using the reticle brightness and contrast controls of your scope In darker environments, choose less brightness to prevent overwhelming your night vision.
Using Advanced Characteristics
If your sight has built-in extras like a ballistic calculator or rangefinder, spend some time entering the required information—such as ballistics coefficient and type of ammo. By offsetting factors like distance and wind, these characteristics can significantly improve accuracy.
Record Your Preferences
Record your preferred settings for several conditions. Record reticle brightness, environmental details, and any ballistic inputs. This record guarantees constant performance and saves time by providing a quick reference to reset your scope under like conditions.

Validate Your Night Vision in the Field
Controlled Field Testing
After mounting and zeroing, test your scope in a field scenario that mimics hunting conditions. Use a controlled environment, such as a private land range, at night to ensure the safety and accuracy of adjustments.
Refining Your Adjustments
The impact is noted during field testing using fire groups of rounds. Make little tweaks to adjust the settings of your scope: windage and elevation for accuracy; reticle brightness and contrast for clarity; etc.
Environmental Considerations
Night vision performance can be affected by both ambient temperature and weather. While fog or rain can obscure vision, cooler temperatures may improve picture clarity. See how your scope responds to these situations; it will guide any required adjustments during real hunts.
How to Get A Perfect Night Vision in the Wild
Perfect Transitions
Give your eyes some time to adapt to the change in light and detail while switching between natural vision and your scope. To preserve partial night adaptation in the other eye, close one eye and peer through the scope.
Tips for Eye Comfort
To avoid strain, set the eye relief—that is, the distance from your eye to the eyepiece—to prevent strain. This also guarantees a complete field of vision. To prevent eye tiredness during extended observation, blink often and take breaks.
Contextual Awareness
Keep mindful of your surroundings outside the scope's lens. Frequent environmental scanning using your natural vision helps you stay alert for any unanticipated movements or sounds and maintain perspective on the whole.
Night Mastery with Your Scope
Your night vision scope becomes an extension of your senses as you walk into the darkness. The secret is the setup; confident field performance results from meticulous calibration and feature knowledge. The once-unseen world shows itself as you learn to negotiate the subtleties of darkness, changing you from an observer to a participant in its hidden life. Keep practicing; pay close attention to the small details; the darkness will soon reveal no secrets from your alert sight. Accept this silent, invisible world and allow your night vision scope to lead you toward many effective hunts.
Comments